Installing a rear video camera for car safety is one of the most practical upgrades you can make if you want better coverage behind your vehicle. A rear camera can help record rear-end collisions, parking lot incidents, and unexpected events that may not appear in front-facing footage.
The good news is that many rear dash camera setups are manageable for careful DIY users. The key is planning the camera position, routing the cable safely, connecting power correctly, and testing the final view before you rely on it daily. This guide focuses on rear dash camera installation, not replacing a factory backup camera.

What Does a Rear Camera Actually Do?
A rear dash camera records what happens behind your vehicle while you drive. In many setups, it works with a front dash cam so you can capture both forward and rear-facing events. This can be useful if another vehicle follows too closely, hits your car from behind, or leaves the scene after contact.
A rear dash camera is different from a rear view camera . A factory-style rear view or backup camera usually helps you see while reversing. A rear dash camera is mainly designed to record. Depending on the system, it may support continuous recording, loop recording, parking monitoring, night recording, and app-based footage review.
That makes it useful not only on the road but also when your vehicle is parked. If the system supports parking mode, it may help capture activity around the back of the car when you are away.
What Should You Prepare Before Installation?
Before you start, check that your rear camera is compatible with your dash cam system. Some rear cameras connect directly to a main front dash cam, while others may use a specific cable or port. Confirming compatibility first prevents wasted time and messy rework.
You may need a rear camera, a compatible main dash cam, a rear camera cable, a power cable, an adhesive mount or bracket, a cleaning cloth, cable clips, a trim tool, and a properly supported memory card. Clean hands and good lighting also help.
Look at your rear windshield before mounting anything. Check for heavy tint, defroster lines, stickers, headrests, cargo, and the rear wiper path. These can block the lens or reduce footage clarity. Also watch for airbags or complex trim. Never force wiring behind panels if you are not sure what is behind them.
|
Installation Option |
Best For |
Difficulty |
Main Concern |
|
DIY installation |
Careful users with basic tools |
Moderate |
Clean cable routing |
|
12V power setup |
Simple daily recording |
Easy to moderate |
Visible cable if not routed well |
|
Hardwire setup |
Parking mode and cleaner wiring |
Advanced |
Fuse box and airbag safety |
|
Professional installation |
Drivers unsure about wiring |
Easiest for owner |
Added service cost |
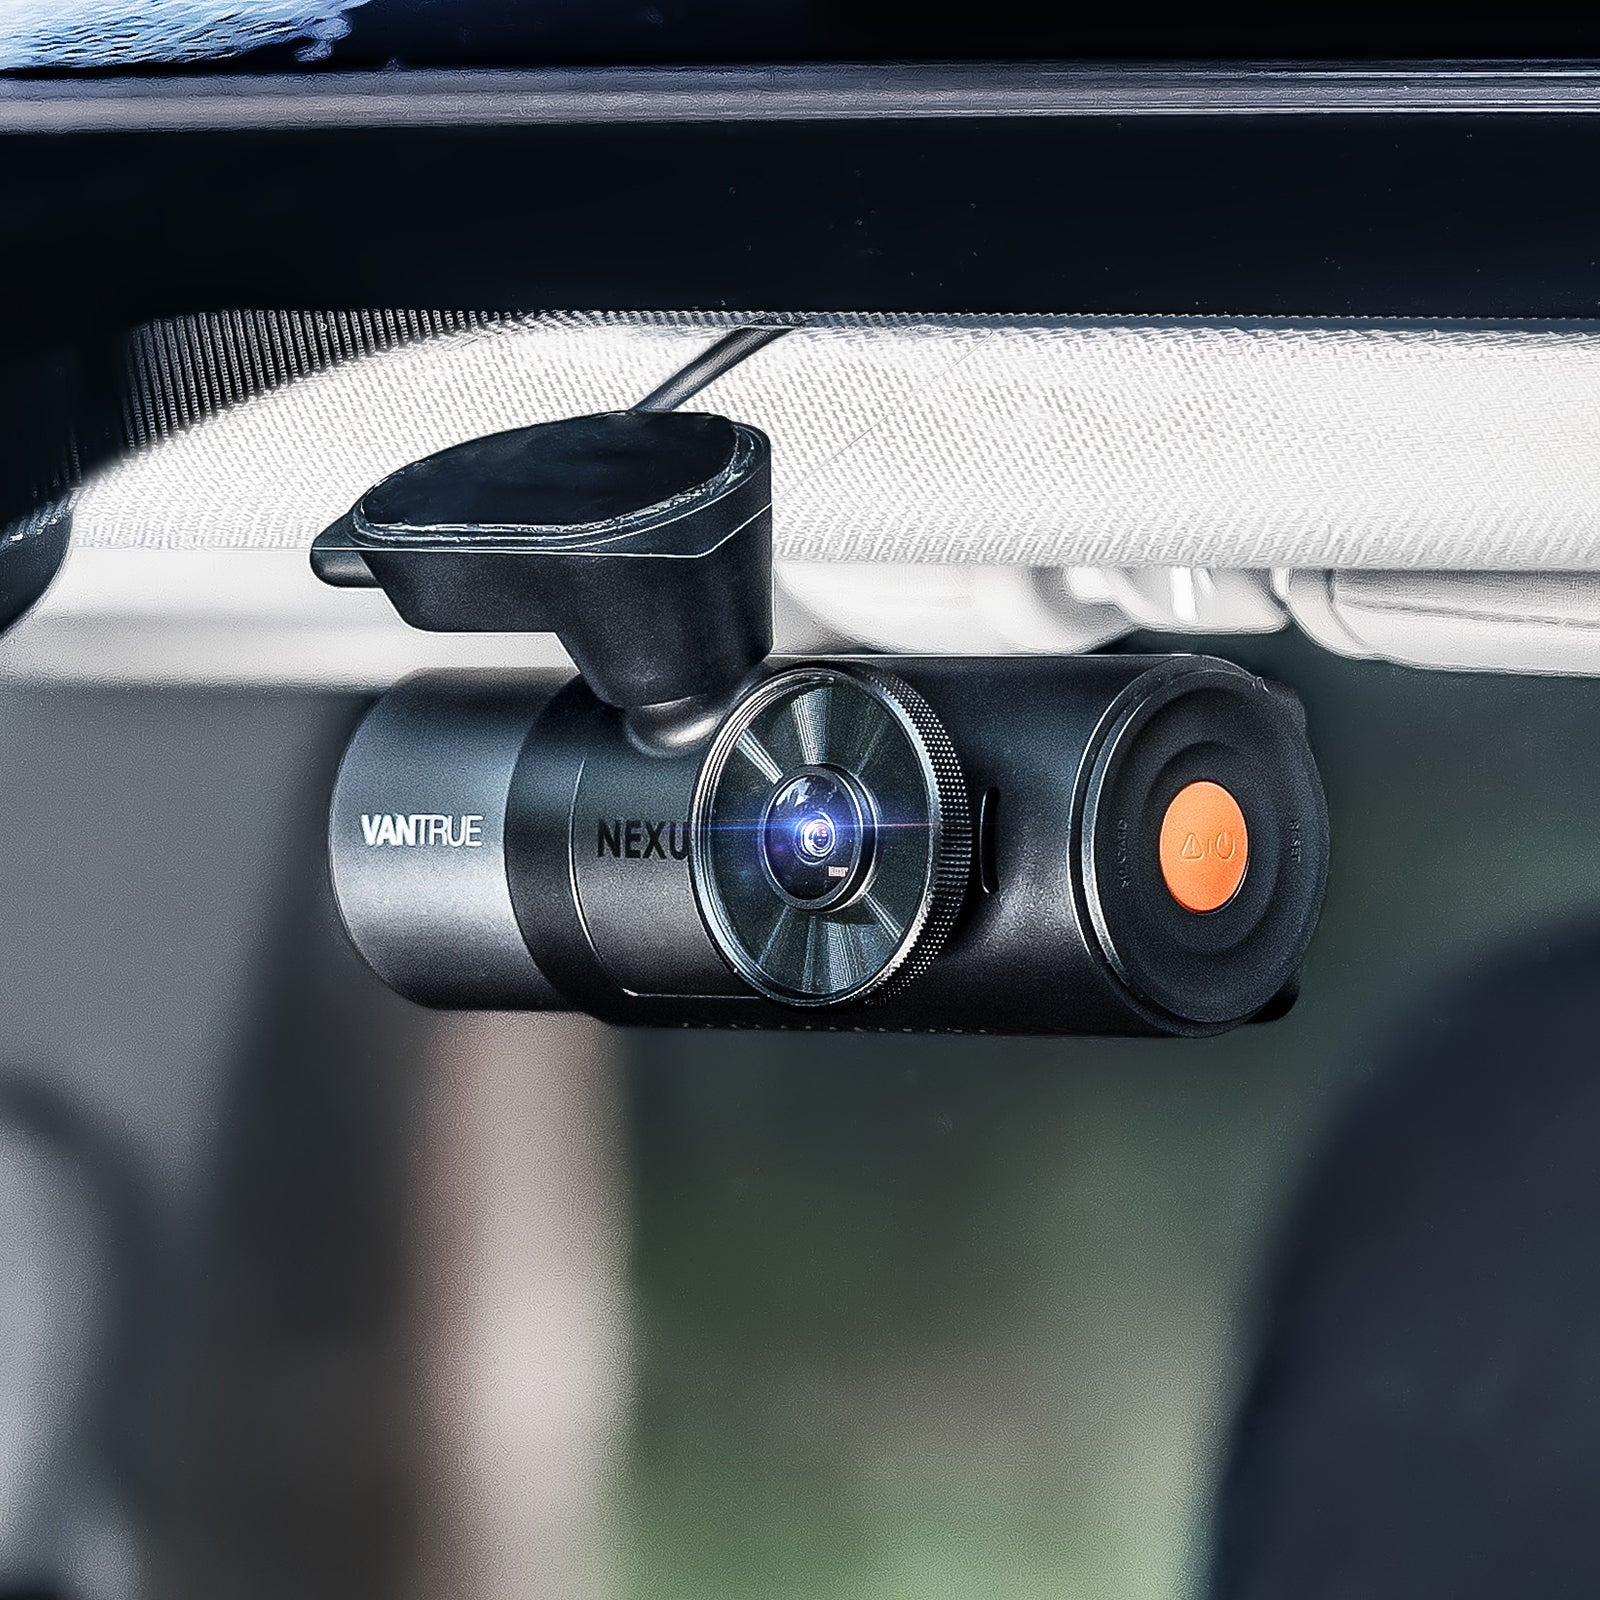
Where Should You Mount the Rear Camera?
The best location is usually near the top center of the rear windshield. This position often gives a balanced view of the road, nearby vehicles, and surrounding lanes. It also keeps the camera away from most cargo and seat obstructions.
Do not place the camera where it blocks your rear visibility. Avoid areas covered by dark tint, stickers, or thick defroster lines. If your vehicle has a rear wiper, make sure the lens sits where the glass can stay clear during rain.
Clean and dry the mounting surface before applying adhesive. After mounting, adjust the angle so the camera captures the road behind the car without pointing too high at the sky or too low at the bumper. A good angle gives useful context, not just a narrow close-up.
How to Install a rear video camera for car Use Step by Step
If you are wondering how to install rear camera for car use, think of the process as a clean route from the rear glass to the main recording system.
Installation flow: Plan route → Mount camera → Route cable → Connect power → Format storage → Test footage
- Plan the cable route first. Before sticking the camera in place, decide where the cable will run. Most clean setups follow the headliner, side trim, or weatherstripping toward the front dash cam.
- Mount the rear camera. Clean the glass, remove dust or oil, and attach the mount firmly. Hold it in place long enough for the adhesive to bond.
- Route the rear camera cable. Tuck the cable gently along safe trim areas. Avoid airbags, seat rails, hinges, sharp edges, and areas where doors may pinch the wire.
- Connect the camera. Plug the rear camera cable into the correct port on the main dash cam or compatible connection point. Do not force the connector.
- Connect power. Some users rely on a 12V socket setup. Others use a hardwire kit for a cleaner look or parking mode support. If you are unsure about fuse boxes, airbags, or vehicle electrical systems, use a professional installer.
- Insert and format the memory card. Use a memory card supported by your dash cam. Format it in the camera settings before regular use.
- Turn the system on. Confirm that both front and rear channels appear in live view or recorded files.
How Do You Test the Camera After Installation?
Testing is just as important as mounting. Start the vehicle and check that the rear channel powers on with the rest of the dash cam system. Then review live view or recorded clips to confirm the image is level, clear, and not blocked by trim, tint, cargo, or glare.
Review your dash camera footage in daylight first. If possible, test again at night or in a dim parking area. Check that license plates, lane lines, and nearby vehicles are visible enough for the camera’s purpose.
Also confirm that loop recording works, the date and time are correct, and rear files are saving properly. If your setup supports parking mode or app connection, test those features before assuming they are active. If the rear image drops out, reseat the cable, reformat the card, adjust the lens, or check whether the cable route is under stress.
Choosing the Right Rear Camera Setup
The right rear video camera for car installation depends on your dash cam system and driving habits. Compatibility should come first. A rear camera needs to work with your main unit, cable type, and recording settings.
After compatibility, compare resolution, field of view, low-light performance, durability, and parking mode support. Higher resolution can help capture clearer details, while a wide field of view can reduce missed activity behind the vehicle. Drivers who park outdoors or drive often at night should pay close attention to night recording and build quality.
For compatible options, explore the Vantrue rear camera collection . It is a practical starting point if you want rear coverage designed to work with Vantrue dash cam systems.

Frequently Asked Questions
Can I install a rear video camera myself?
Yes, many careful drivers can install one themselves. The main challenge is routing the cable cleanly and safely. If you are not comfortable around trim panels, airbags, or fuse boxes, professional installation is safer.
Where is the best place to mount a rear dash camera?
The top center of the rear windshield is usually best. It gives a balanced view and is less likely to be blocked by passengers or cargo.
Is a rear dash cam the same as a backup camera?
No. A backup camera helps you see while reversing. A rear dash cam records activity behind your vehicle while driving and, with supported features, may also help monitor the vehicle while parked.
Does a rear camera record while the car is parked?
It depends on the dash cam system and power setup. Parking mode often requires compatible hardware, correct settings, and sometimes a hardwire kit.
How do I know if my rear camera is recording properly?
Check the live view, review saved rear-channel clips, confirm the date and time, and make sure loop recording is working.
Should I hardwire my rear camera or use a 12V power source?
A 12V setup can be simpler. Hardwiring may look cleaner and support parking features, but it is better handled by a professional if you are unsure about vehicle wiring.
Conclusion: Install Cleanly, Test Carefully, and Drive With Better Coverage
A clean rear video camera for car setup starts with the right location and a safe cable route. Mount the camera carefully, connect it to the correct system, format the memory card, and test the rear view before daily use.
Once installed, a rear camera can give you more complete coverage of what happens around your vehicle. To build a setup that fits your driving needs, visit the Vantrue rear camera collection and choose a compatible rear camera for your dash cam system.
Teilen:
So installieren Sie eine Dashcam für 24/7-Schutz: Hardwire-Kits vs. kabellose Optionen